Deploying to Heroku With GitLab CI/CD
In this article, learn how you can deploy your Heroku app automatically any time code is merged into your main branch by using GitLab CI/CD.
Join the DZone community and get the full member experience.
Join For FreeGood software engineering teams commit frequently and deploy frequently. Those are some of the main ideas behind continuous integration (CI) and continuous deployment (CD). Gone are the days of quarterly or yearly releases and long-lived feature branches!
Today, we’ll show you how you can deploy your Heroku app automatically any time code is merged into your main branch by using GitLab CI/CD.
Ready to dig in?
Getting Started
Before we begin, we’ll need two things: a Heroku account and a GitLab account.
Heroku is a great place to host and deploy your apps. As a platform as a service (PaaS), Heroku allows you to focus on building cool things while abstracting away much of the infrastructure complexity. You can create a Heroku account here.
GitLab is a great place to store your code. Beyond just being a source code management tool, GitLab also offers native CI/CD capabilities so you can set up pipelines to test and deploy your code without requiring another third-party tool. You can create a GitLab account here.
The demo app shown in this article uses both GitLab and Heroku. You can find all the code in the GitLab repo here.
Running Our App Locally
You can run the app locally by cloning the repo, installing dependencies, and running the start command. In your terminal, do the following:
$ git clone https://gitlab.com/tylerhawkins1/heroku-gitlab-ci-cd-demo.git
$ cd heroku-gitlab-ci-cd-demo
$ npm install
$ npm start
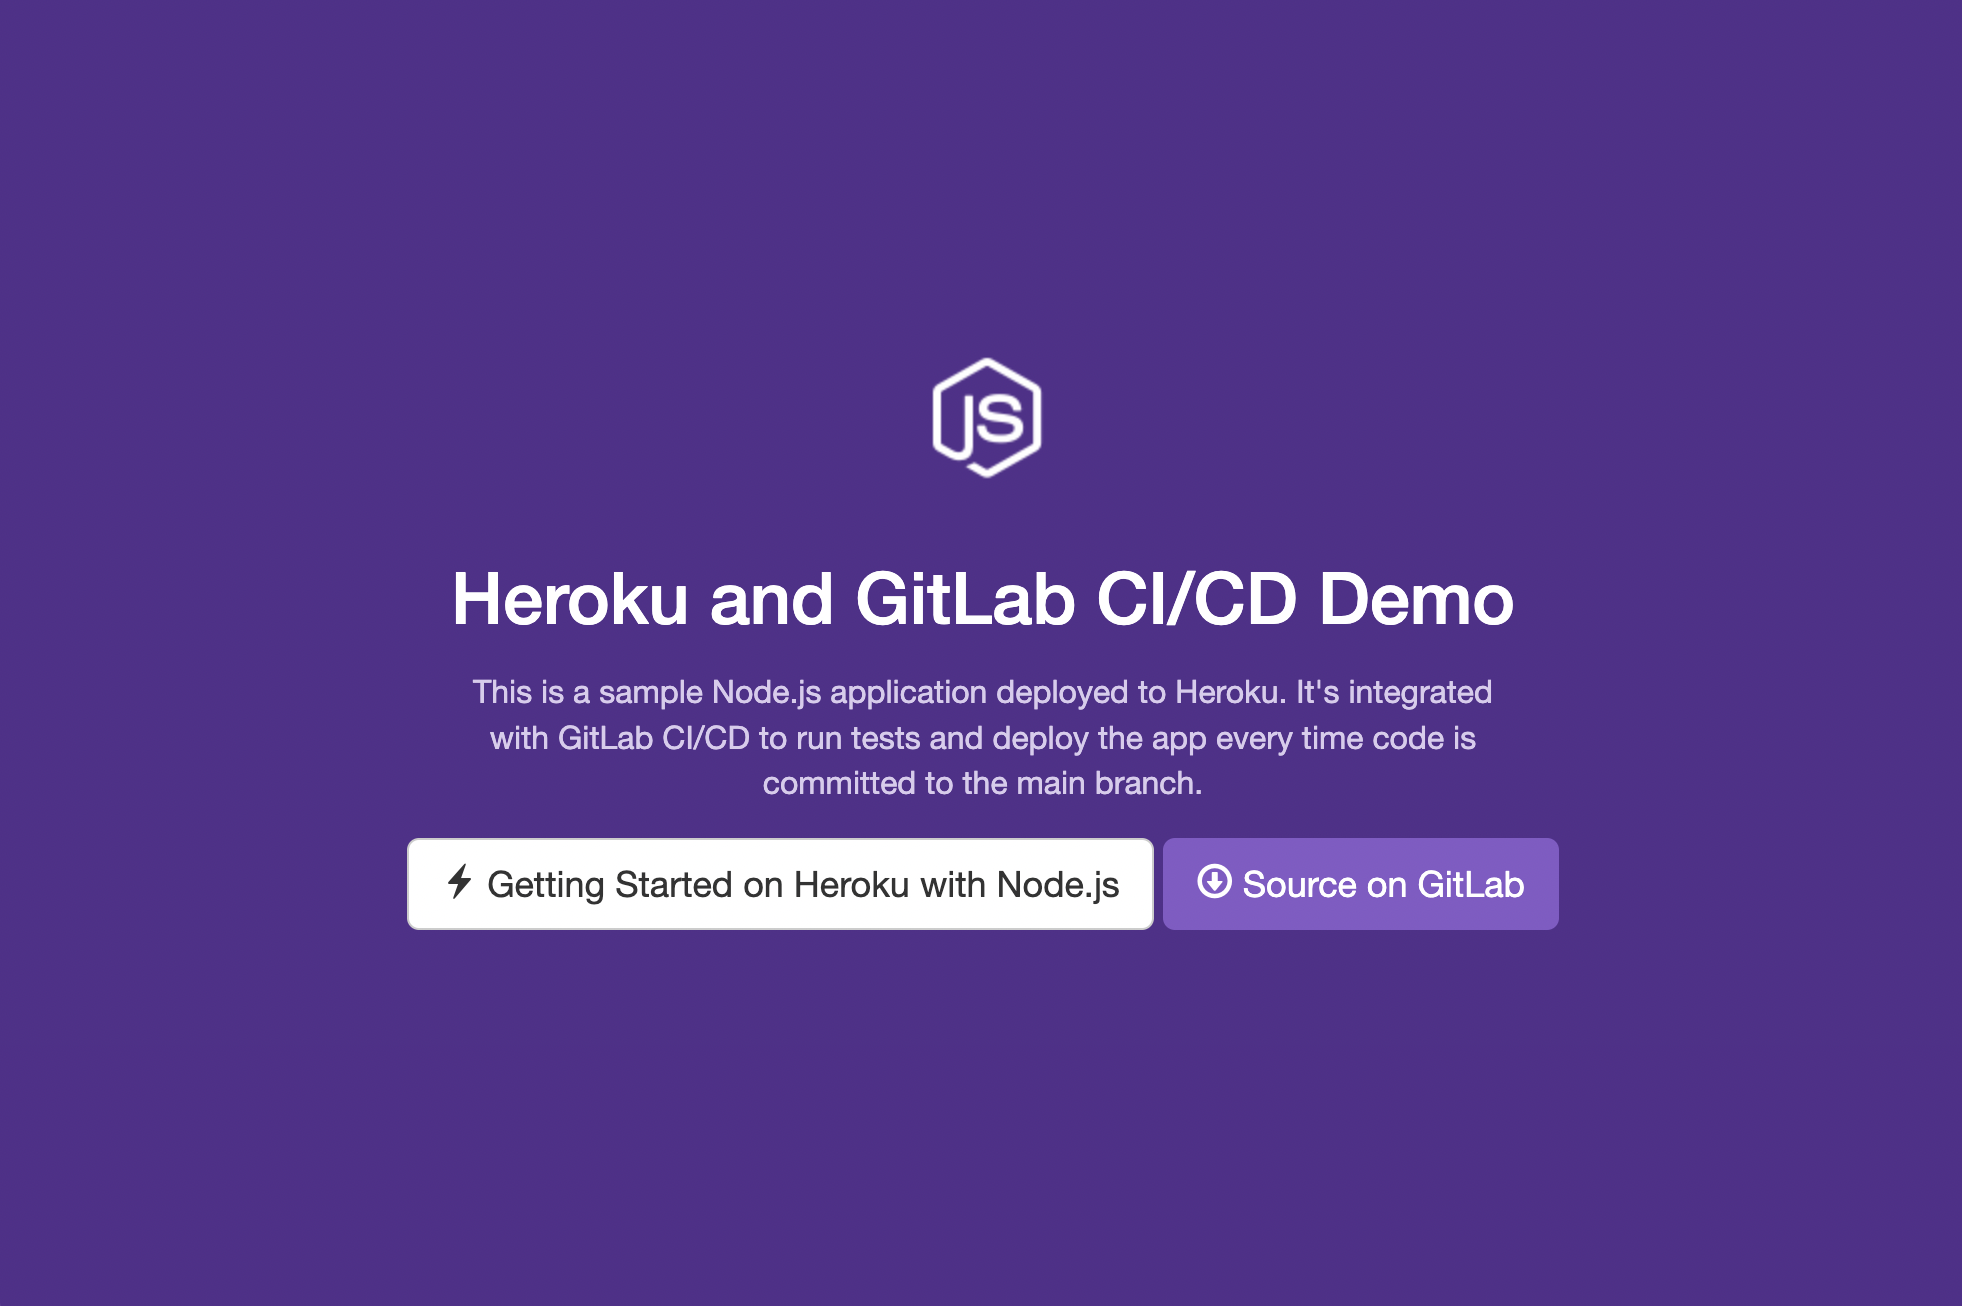
After starting the app, visit http://localhost:5001/ in your browser, and you’ll see the app running locally:
Deploying Our App to Heroku
Now that the app is running locally, let’s deploy it to Heroku so that you can access it anywhere, not just on your machine.
If you don’t already have the Heroku CLI installed on your machine, you’ll need to install that before moving on.
After installing the Heroku CLI, run the following commands from your terminal to create a new Heroku app, deploy it, and open it in your browser:
$ heroku create
$ git push heroku main
$ heroku open
With that, you should see the same app, but this time running on a Heroku URL instead of on localhost. Nice work — you’ve deployed your Heroku app!
Making Changes to Our App
Now that we have our Heroku app up and running, what if we want to make some changes? You can make changes to the source code and then add, commit, and push those changes to the main branch.
If you wanted to deploy those changes to the production Heroku app, you’d need to run git push heroku main once again. Wouldn’t it be nice if we could automate the deployment instead of having to deploy it manually each time?
This is where GitLab CI/CD comes into play.
Continuous Integration/Continuous Deployment
Continuous integration (CI) is all about committing often and keeping the build in a good state at all times. Typically, you would verify that the build is in a good state by running checks in a CI pipeline. These checks might include linters, unit tests, and/or end-to-end tests.
Continuous deployment (CD) is all about deploying frequently. If the checks in the CI pipeline pass, then the build gets deployed. If the checks in the CI pipeline fail, then the build does not get deployed.
With GitLab CI/CD, we can configure our CI pipeline to do exactly this — run our tests and then deploy our app to Heroku if the tests all pass.
Configuring GitLab CI/CD
We can create a CI pipeline in GitLab programmatically using a .gitlab-ci.yml file. Our file looks like this:
image: node:20.10.0

cache:
  paths:
    - node_modules/

before_script:
  - node -v
  - npm install

stages:
  - test
  - deploy

unit-test-job:
  stage: test
  script:
    - npm test

deploy-job:
  stage: deploy
  environment: production
  script:
    - apt-get update -yq
    - apt-get install -y ruby-dev
    - gem install dpl
    - dpl - provider=heroku - app=$HEROKU_APP_NAME - api-key=$HEROKU_PRODUCTION_KEY
  rules:
    - if: $CI_COMMIT_BRANCH == $CI_DEFAULT_BRANCH
GitLab CI pipelines consist of stages and jobs. Each stage can contain one or more jobs. In our pipeline, we have two stages: test and deploy. In the test stage, we run our unit tests in the unit-test-job. In the deploy stage, we deploy our app to Heroku in the deploy-job.
If all the jobs in the previous stage pass, then we can progress to the next stage. That means if the unit tests fail, then the app won’t be deployed, which is a good thing! We wouldn’t want to deploy our app if it was in a bad state.
You’ll notice that the deploy stage references two variables called $HEROKU_APP_NAME and $HEROKU_PRODUCTION_KEY. These are stored as CI/CD variables within GitLab.
If you’re setting this up in your own GitLab account, you’ll first need to find your API key in your Heroku account. Within your Heroku account settings, you should see a section with your API key. If you haven’t generated an API key yet, generate one now.

Next, in your GitLab project, click on Settings > CI/CD > Variables. Expand that section and add two new variables.
- The value for
$HEROKU_PRODUCTION_KEYwill be the API key from your Heroku account. - The value for
$HEROKU_APP_NAMEwill be the name of your Heroku app.
My app’s name is heroku-gitlab-ci-cd-demo, but since Heroku app names are universally unique, yours will be something different.
With that, your GitLab CI pipeline is ready to go! Let’s test it out.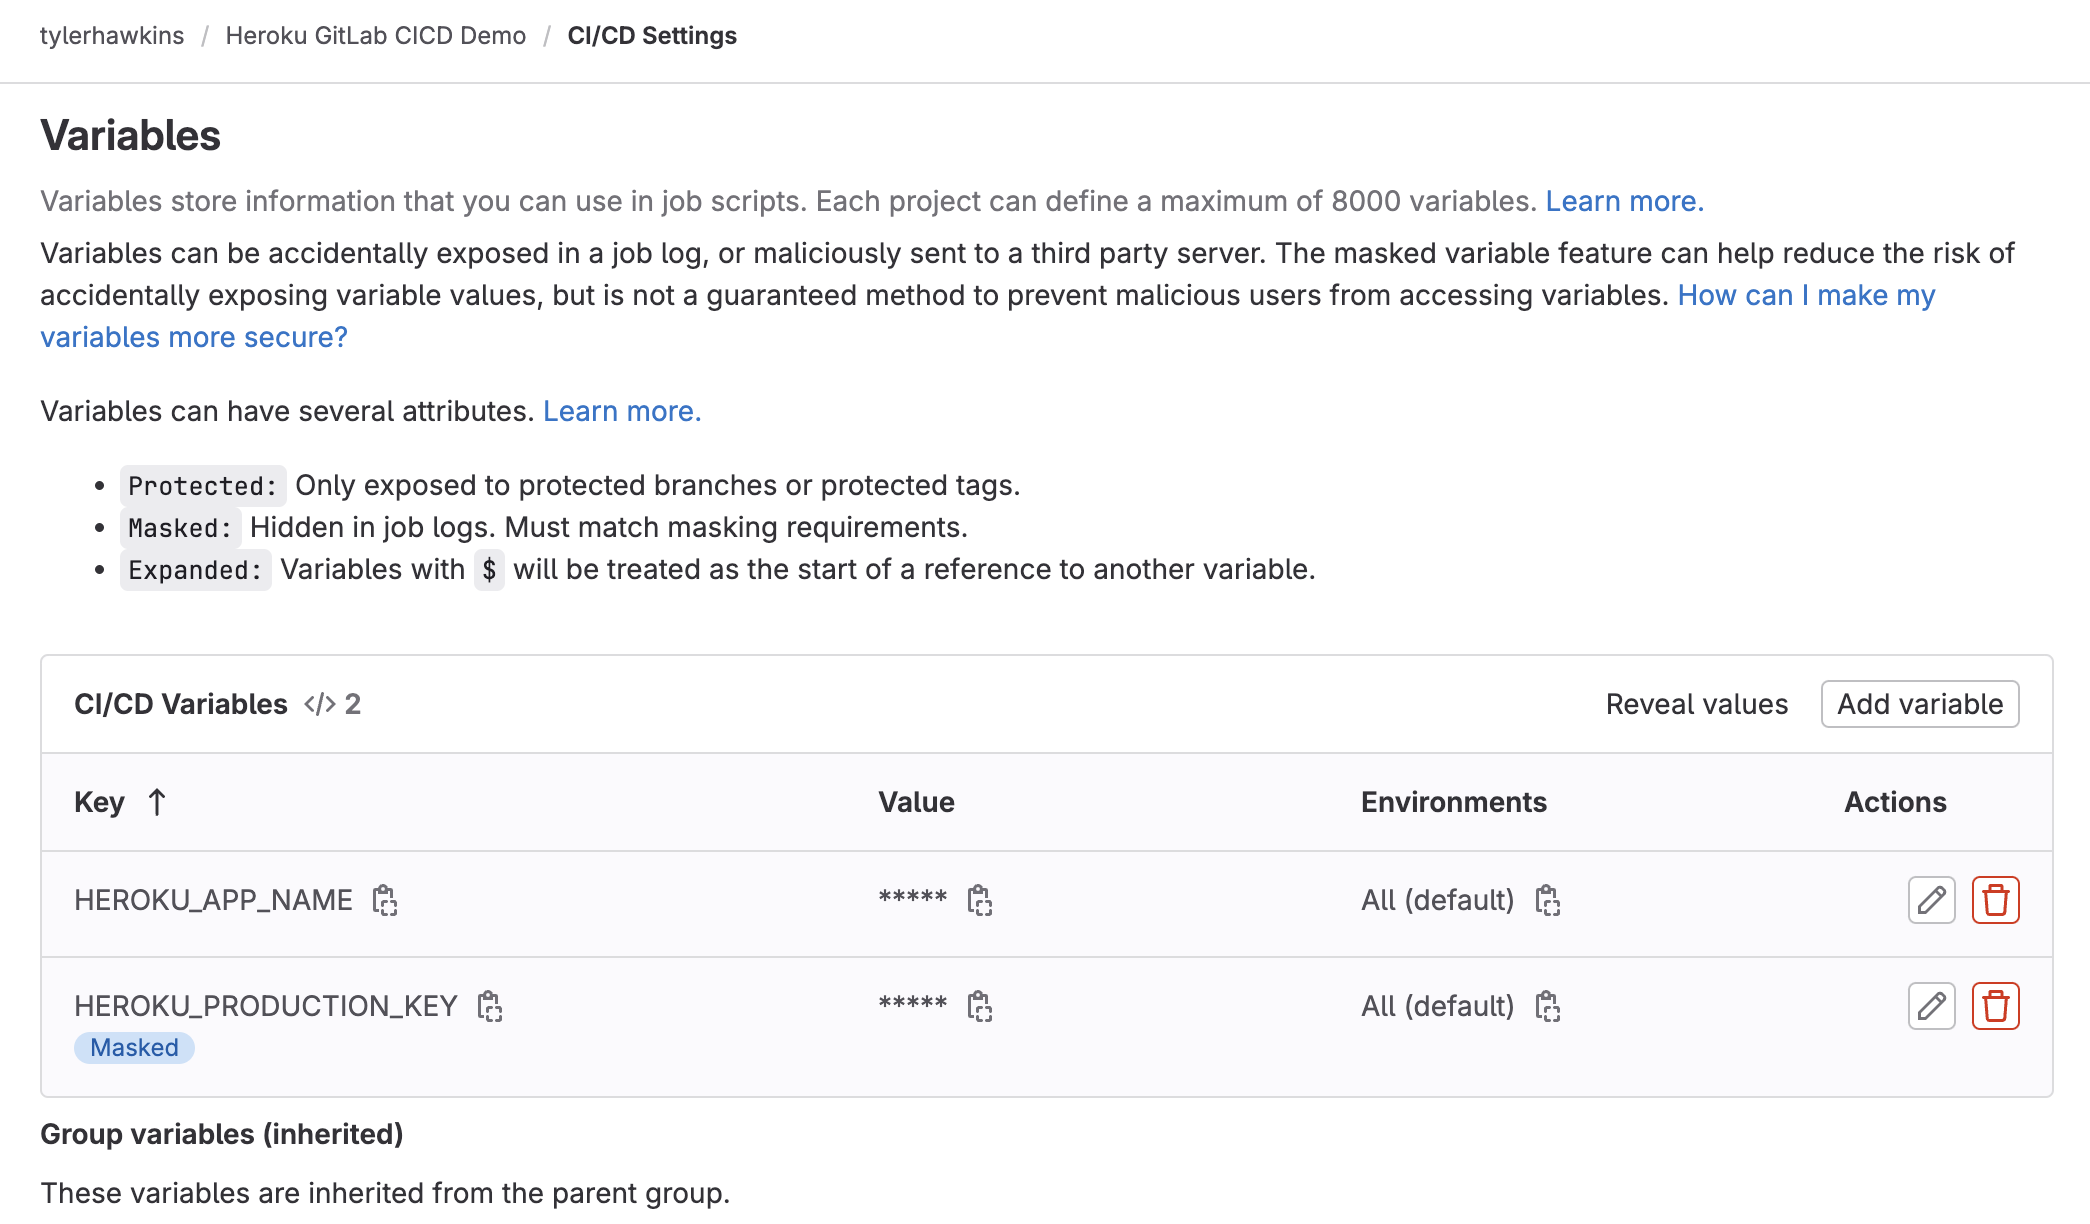
Deploying Our Heroku App Automatically
Let’s make a change to the code in our app. I made a simple change to the heading text, changing the words from “Heroku and GitLab CI/CD Demo” to “Heroku and GitLab CI/CD Rules!” You can make a similar change in your code.
Now add, commit, and push that change to the main branch. This will start the GitLab CI pipeline. You can view the pipeline within GitLab and see the progress in real-time.
If everything goes well, you should see that both the test and deploy stages have passed. Now, go check out your hosted Heroku app. The GitLab CI pipeline deployed the app for you, so you’ll now see your changes live in production!
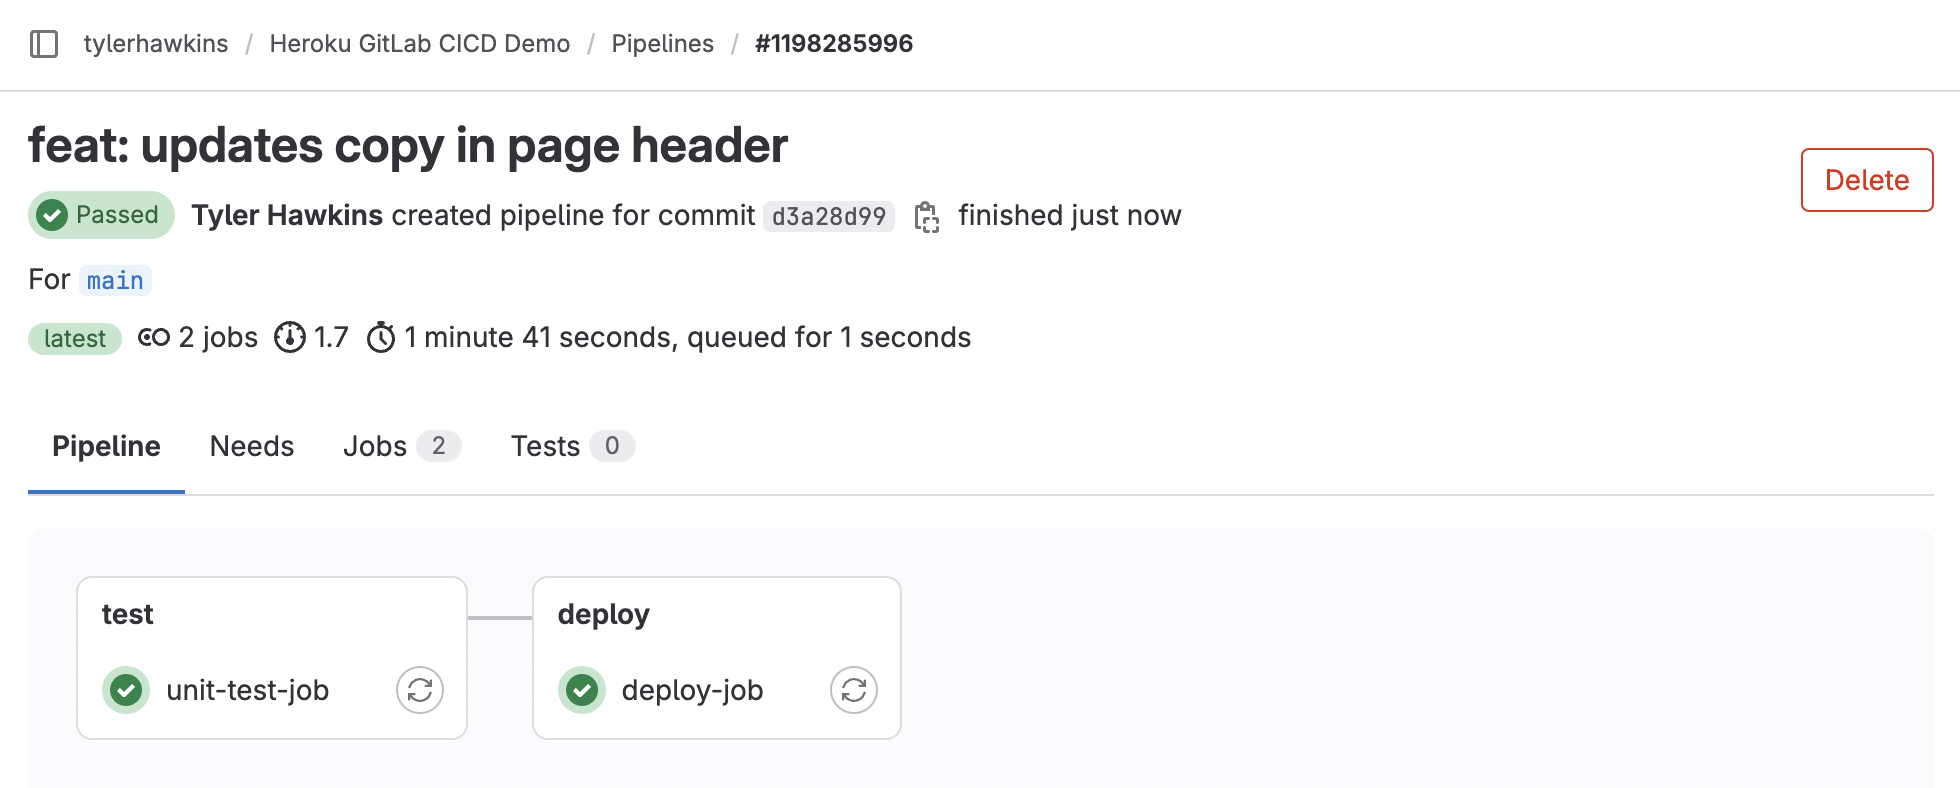
GitLab CI pipeline build
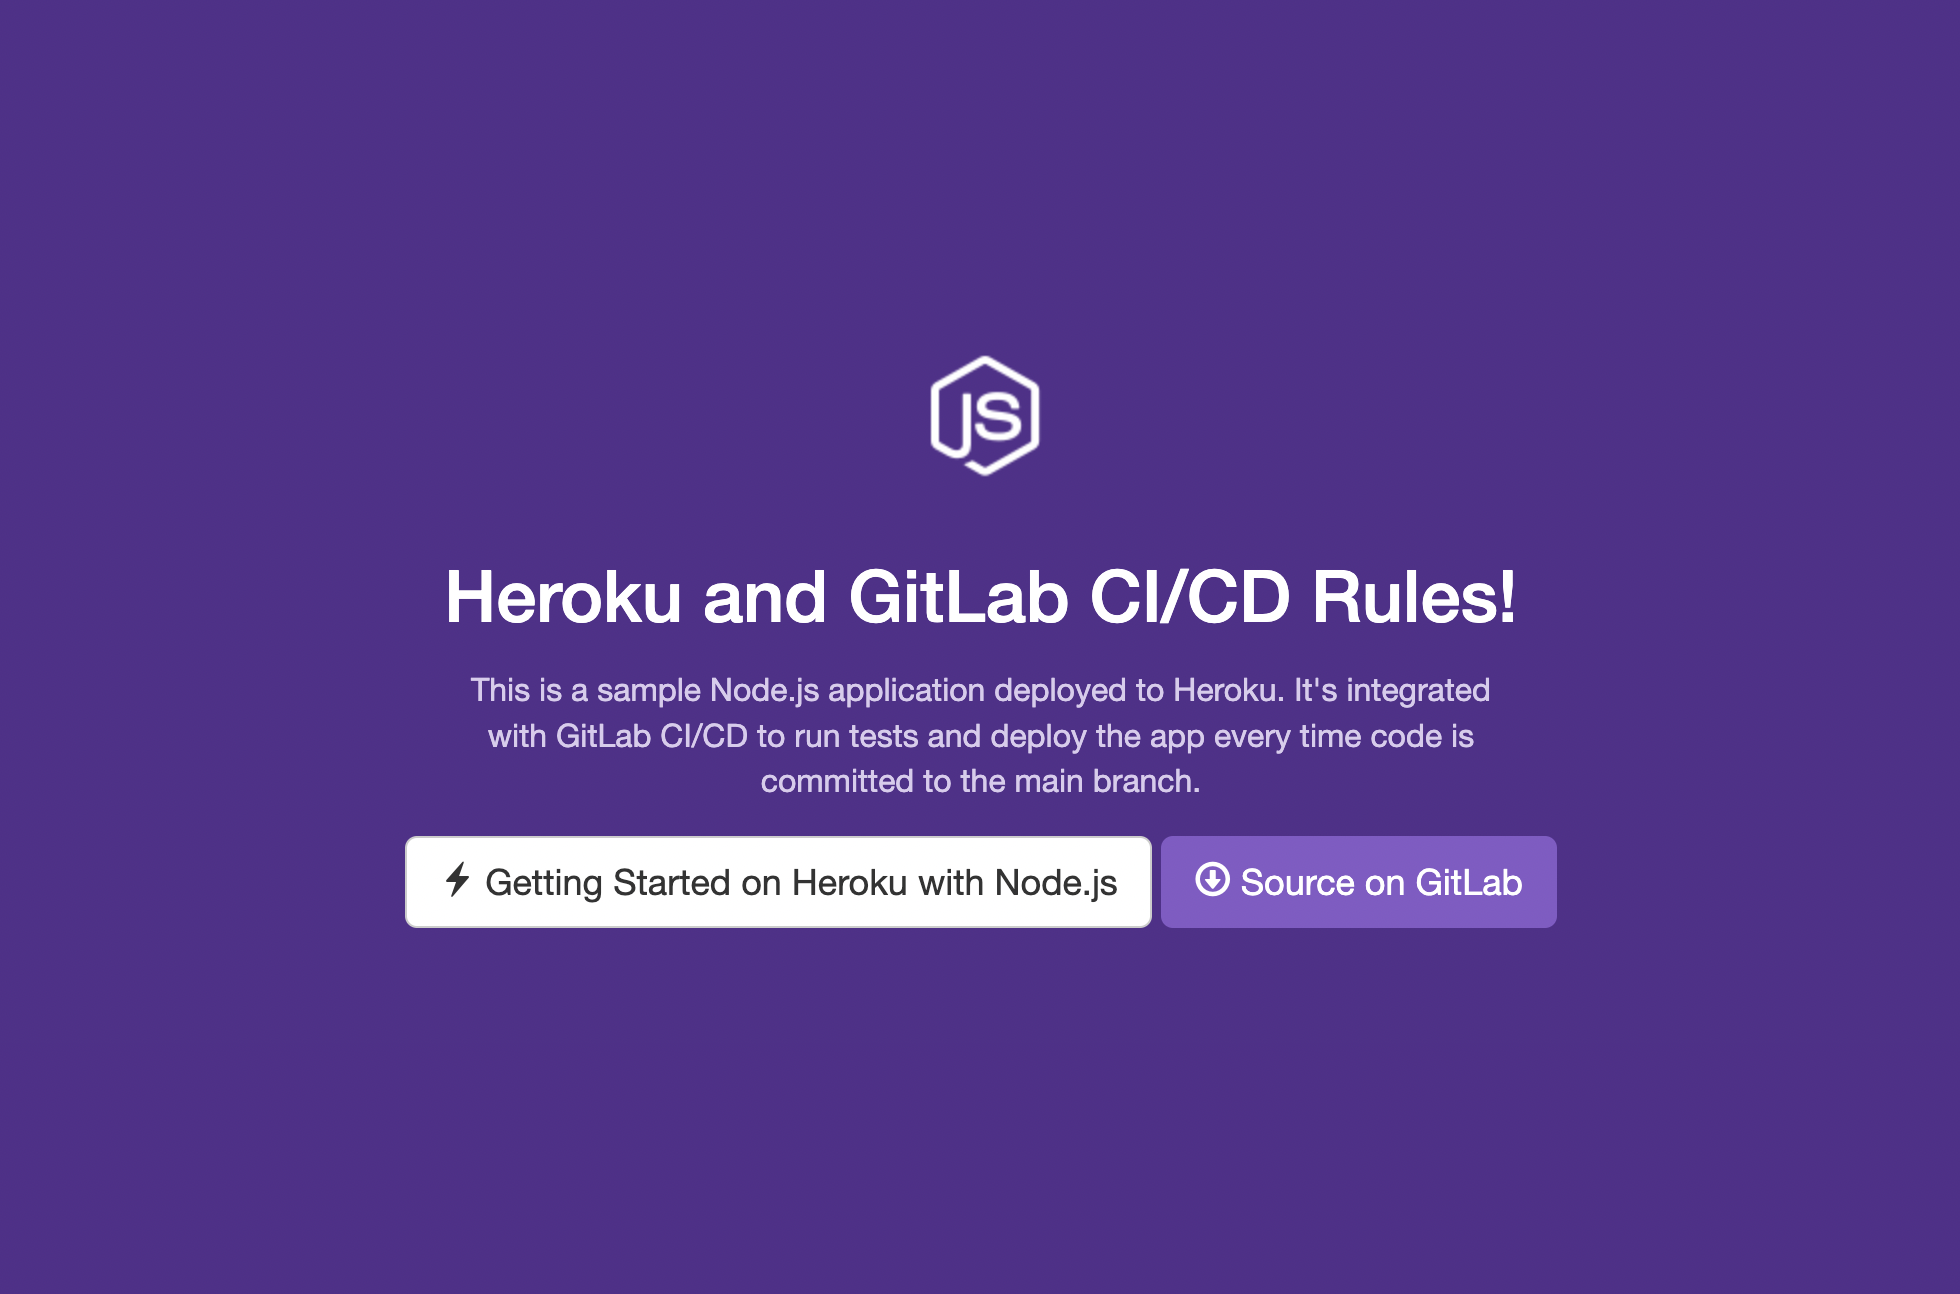
Demo Heroku app with an updated copy
Conclusion
A good CI pipeline allows you to ship new features quickly and confidently without manually managing the deployment process yourself. Heroku and GitLab CI/CD make a great team!
Published at DZone with permission of Tyler Hawkins. See the original article here.
Opinions expressed by DZone contributors are their own.
Comments