How To Obtain IP Geolocation Data in Next.js
Simple implementation of IP geolocation feature in Next.js to pinpoint a user's physical location using their IP address.
Join the DZone community and get the full member experience.
Join For FreeWebsites can use IP geolocation to provide various features to website users. These include webpage redirection by country, showing content in the local language, or customizing the content based on the user’s geolocation.
React is an open-source JavaScript library that makes it easy for web developers to create engaging user interfaces based on components. Being designed to run on the front end (client-side) means that it can only render the page on the browser side.
Meanwhile, Next.js is an open-source React web development framework developed by Vercel. Next.js enables React web applications to perform server-side rendering, code splitting, and so much more. The framework is powered by Node.js, which provides the JavaScript runtime environment.
In this tutorial, I’ll cover how to set up a basic website powered by React and Next.js. Then, I'll demonstrate how to obtain IP geolocation data of web visitors by checking their IP addresses. This involves some easy integration with IP2Location.io, the next generation of IP geolocation API that is brought to you by IP2Location.com, a long-time provider of IP geolocation data.
I'll be using a Debian 12 instance for our demonstration.
Prerequisite: IP2Location.io Free API key. Take note of your API key, which will be used in the steps below.
1. Install Node.js
At the time of writing, the minimum version of Node.js required by Next.js is version 18 or higher. Refer to the next.js setup to see what is the latest required version.
Follow the installation steps at node.js for your platform.
For Debian, install using the below command:
sudo apt install nodejs npm
After installation, verify the versions of both.
nodejs --version && npm --version

Alright, my version meets the requirements. So, let’s move on to the next step.
2. Create the Basic Next.js Application
Use the command line below to automatically generate the basic Next.js application based on the default template. Navigate to the folder where you want to create your application, then run the following command.
npx create-next-app@latest
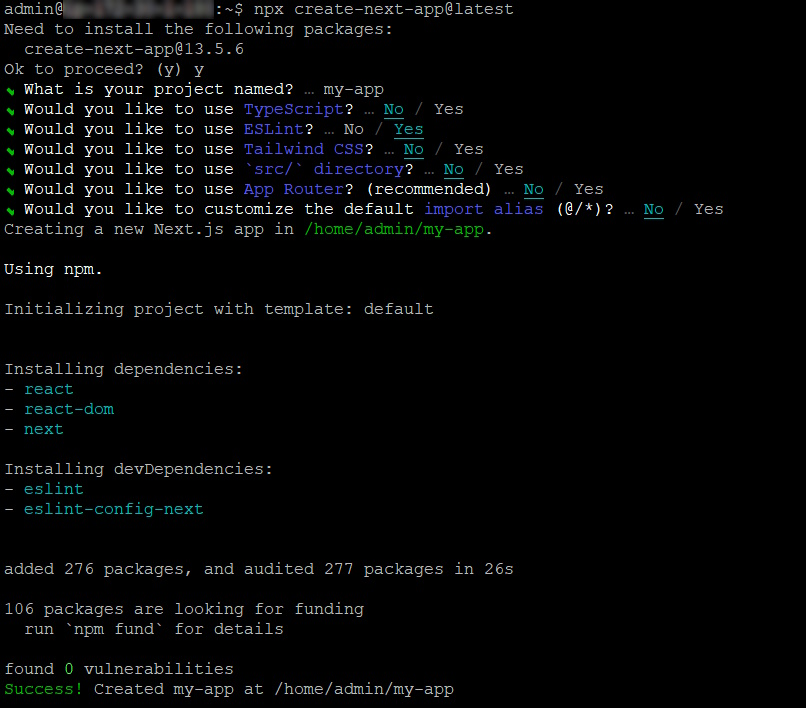
I’ll use the default project name “my-app” and will not use TypeScript for this demo. Select Yes for ESLint, No for Tailwind, No for src director, No for App Router, and No for import alias.
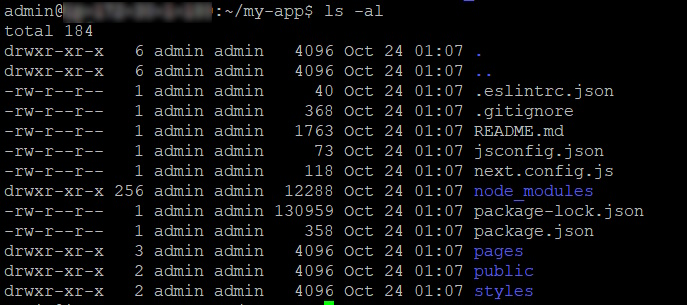
After running the above, you should see the folder called “my-app” has been created along with the skeleton code from the default template. Let’s navigate into the “my-app” folder and see what files and folders have been created.
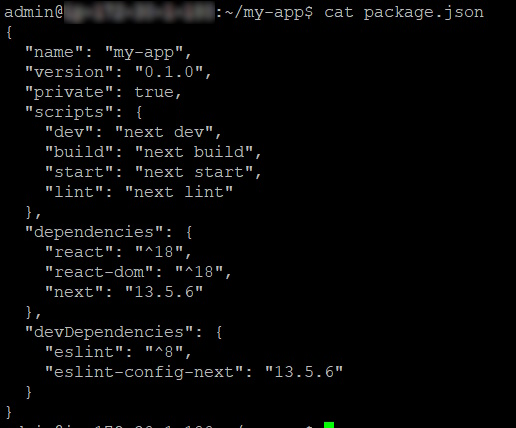
Take a look at the package.json file, and you’ll see that it has automatically included the required dependencies to work with React and Next.js.
3. Install the IP2Location.io Node.js SDK
Run the below command to install the IP2Location.io Node.js SDK.
npm install ip2location-io-nodejs
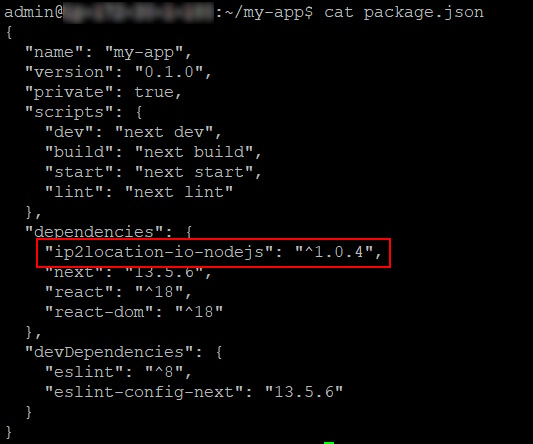
After running the above command, you’ll see the package.json has been updated to include the IP2Location.io Node.js SDK.
4. Modifying the Index.js in the Pages Folder to Add the IP2Location.io Codes
Navigate to the pages folder, and let’s take a look at the index.js file using a text editor. I assume that you are familiar with React, as I will not cover that here.
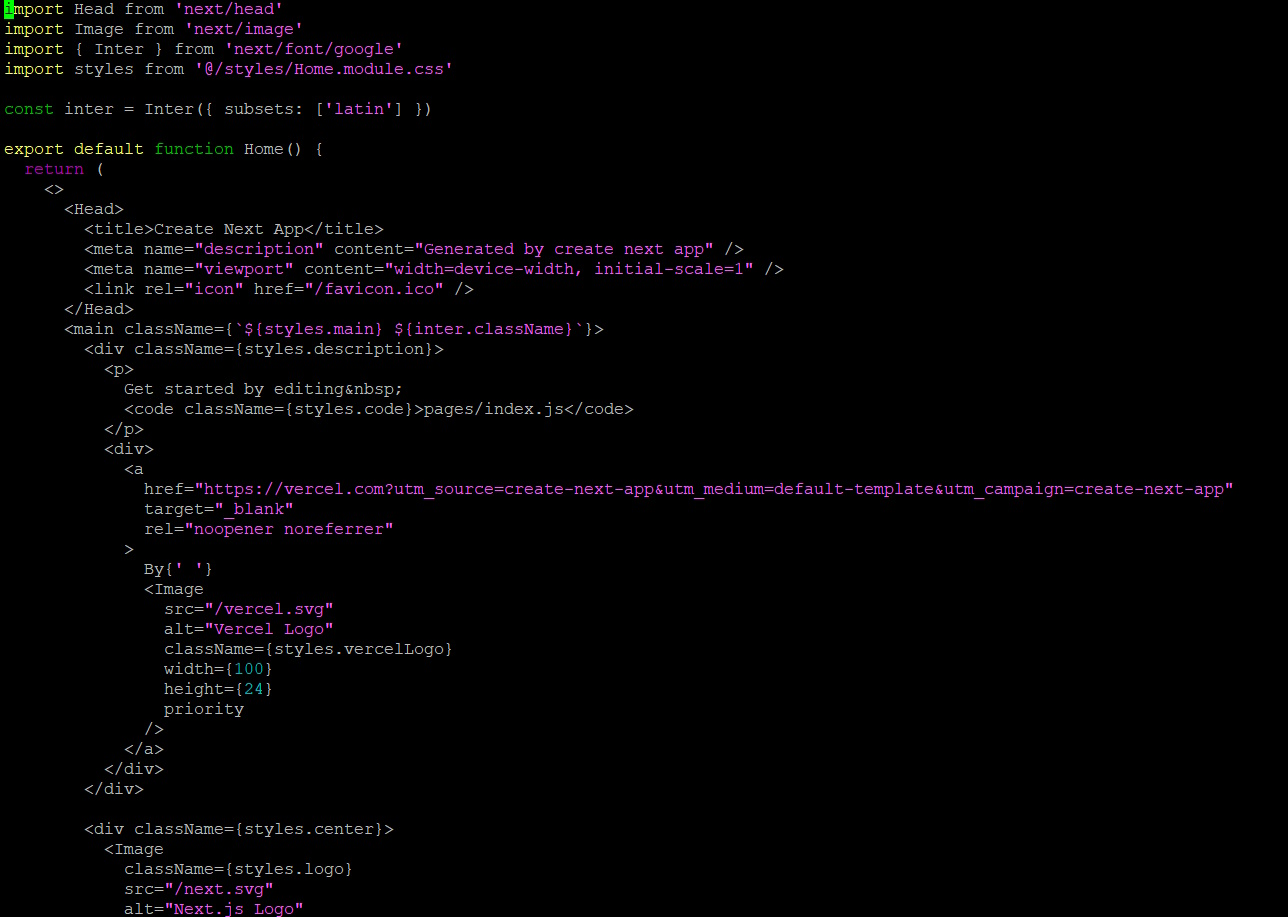
Now, let’s replace the whole page with the below code to simplify the page for the purpose of the demo. Save the page after pasting the simplified code below.
Country: {ipldata.country_name} ({ipldata.country_code})
Country translation: {ipldata.country.translation.value} ({ipldata.country.translation.lang})
Region: {ipldata.region_name}
City: {ipldata.city_name}
Latitude: {ipldata.latitude}
Longitude: {ipldata.longitude}
Continent: {ipldata.continent.name}
Continent translation: {ipldata.continent.translation.value} ({ipldata.continent.translation.lang})
import Head from 'next/head'
import Image from 'next/image'
import { Inter } from 'next/font/google'
import styles from '@/styles/Home.module.css'
import ip2locationio from 'ip2location-io-nodejs'

const inter = Inter({ subsets: ['latin'] })

export async function getServerSideProps(context) {
  let ip
  const { req } = context

  if (req.headers['x-forwarded-for']) {
	ip = req.headers['x-forwarded-for'].split(',')[0]
  } else if (req.headers['x-real-ip']) {
	ip = req.connection.remoteAddress
  } else {
	ip = req.connection.remoteAddress
  }

  // Configures IP2Location.io API key
  let mykey = 'YOUR_API_KEY'
  let config = new ip2locationio.Configuration(mykey)
  let ipl = new ip2locationio.IPGeolocation(config)
  let lang = 'fr' // translation language, only supported in Plus and Security plans so use blank if not needed

  // Lookup ip address geolocation data
  const ipldata = await ipl.lookup(ip, lang)
  return { props: { ipldata: ipldata } }
}

export default function Home({ ipldata }) {
  return (
	<>
  	<Head>
    	<title>Create Next App</title>
    	<meta name="description" content="Generated by create next app" />
    	<meta name="viewport" content="width=device-width, initial-scale=1" />
    	<link rel="icon" href="/favicon.ico" />
  	</Head>
  	<main className={`${styles.main} ${inter.className}`}>
    	<div className={styles.description}>
      	IP: {ipldata.ip} <br />
      	Country: {ipldata.country_name} ({ipldata.country_code}) <br />
      	Country translation: {ipldata.country.translation.value} ({ipldata.country.translation.lang}) <br />
      	Region: {ipldata.region_name} <br />
      	City: {ipldata.city_name} <br />
      	Latitude: {ipldata.latitude} <br />
      	Longitude: {ipldata.longitude} <br />
      	Continent: {ipldata.continent.name} <br />
      	Continent translation: {ipldata.continent.translation.value} ({ipldata.continent.translation.lang}) <br />
    	</div>
  	</main>
	</>
  )
}
Now, let’s break down the important bits that will allow us to retrieve the IP geolocation for the website visitor’s IP address.
First of all, we need to import the IP2Location.io Node.js SDK so that we can use its functionality.
import ip2locationio from 'ip2location-io-nodejs'
Next, add another function called “getServerSideProps” which is a Next.js function to allows us to set dynamic properties on every page request. It is here that we retrieve the caller’s IP address and pass it to the IP2Location.io API to get the geolocation data.
export async function getServerSideProps(context) {
  let ip
  const { req } = context

  if (req.headers['x-forwarded-for']) {
	ip = req.headers['x-forwarded-for'].split(',')[0]
  } else if (req.headers['x-real-ip']) {
	ip = req.connection.remoteAddress
  } else {
	ip = req.connection.remoteAddress
  }

  // Configures IP2Location.io API key
  let mykey = 'YOUR_API_KEY'
  let config = new ip2locationio.Configuration(mykey)
  let ipl = new ip2locationio.IPGeolocation(config)
  let lang = 'fr' // translation language, only supported in Plus and Security plans so use blank if not needed

  // Lookup ip address geolocation data
  const ipldata = await ipl.lookup(ip, lang)
  return { props: { ipldata: ipldata } }
}
Finally, we can use the properties that we’ve set above inside our Home function that will render our index page. We’ll pass the ipldata to the function and then the IP geolocation fields like country_code, country_name, region_name and other fields will be displayed.
Country: {ipldata.country_name} ({ipldata.country_code})
Country translation: {ipldata.country.translation.value} ({ipldata.country.translation.lang})
Region: {ipldata.region_name}
City: {ipldata.city_name}
Latitude: {ipldata.latitude}
Longitude: {ipldata.longitude}
Continent: {ipldata.continent.name}
Continent translation: {ipldata.continent.translation.value} ({ipldata.continent.translation.lang})
export default function Home({ ipldata }) {
  return (
	<>
  	<Head>
    	<title>Create Next App</title>
    	<meta name="description" content="Generated by create next app" />
    	<meta name="viewport" content="width=device-width, initial-scale=1" />
    	<link rel="icon" href="/favicon.ico" />
  	</Head>
  	<main className={`${styles.main} ${inter.className}`}>
    	<div className={styles.description}>
      	IP: {ipldata.ip} <br />
      	Country: {ipldata.country_name} ({ipldata.country_code}) <br />
      	Country translation: {ipldata.country.translation.value} ({ipldata.country.translation.lang}) <br />
      	Region: {ipldata.region_name} <br />
      	City: {ipldata.city_name} <br />
      	Latitude: {ipldata.latitude} <br />
      	Longitude: {ipldata.longitude} <br />
      	Continent: {ipldata.continent.name} <br />
      	Continent translation: {ipldata.continent.translation.value} ({ipldata.continent.translation.lang}) <br />
    	</div>
  	</main>
	</>
  )
}
5. Run the Next.js Application
Run the below command to start the Next.js application.
npm run dev

It will tell you that you can access the web server at localhost on port 3000.
6. Open the Browser and Test the Page
Since IP geolocation requires public IP addresses, we will access our test server through the Internet from our client machine so that it can read our public IP address.
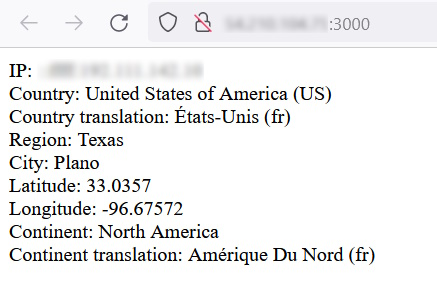
Open the browser on your client machine and navigate to the server you’re using at port 3000.
See the output of the page below.
NOTE: My example is using the Security plan for the API so I am able to retrieve more data like continent info as well as translations.
Conclusion
I hope that the above guide can help you guys easily integrate IP geolocation into your Next.js web application. Modern websites do rely on IP geolocation for many of their features, and it is easy to accomplish this.
Comments