How To Use AzureSignTool to Sign Executables With Azure DevOps
Discover an easy step-by-step tutorial to code sign your executables using AzureSignTool in Azure DevOps.
Join the DZone community and get the full member experience.
Join For FreeAzureSignTool is a code-signing utility that organizations use to secure their software. This signing tool is compatible with all major executable files and works impeccably with all OV and EV code signing certificates.
But, it's mostly used with Azure DevOps due to the benefit of Azure Key Vault. And the same is depicted by this guide. Here, you will undergo the complete procedure to sign the executable using AzureSignTool in Azure DevOps.
Prerequisites To Complete to Sign With Azure DevOps
To use Azure SignTool to sign with Azure DevOps, you will need the following components and mechanisms to be configured:
- A Code Signing Certificate (You should prefer purchasing an EV Cloud Code Signing Certificate or Azure Key Vault Code Signing Certificate.)
- Azure Platform Subscription
- Azure Key Vault
- App registration on Azure Active Directory
- Azure DevOps
- Azure SignTool
Once you fulfill all the requirements, you can move forward with the signing procedure.
Complete the Process To Use Azure SignTool With Azure DevOps
To ease the process, we have divided it into six parts, each with sub-steps for quick completion. So, let's start with the procedure.
Part 1: Configuring the Azure Platform
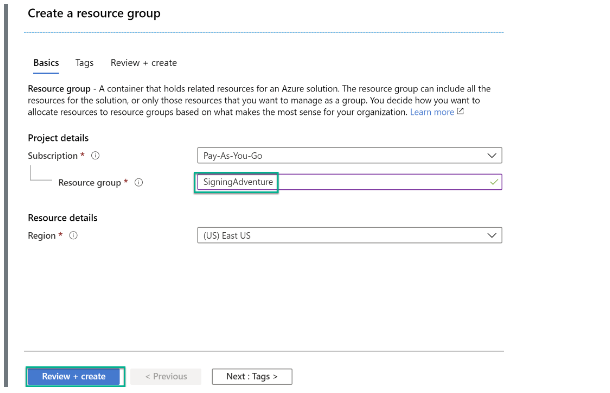
Step 1: Sign in to your Azure platform account and create a resource group to manage all associated resources better.
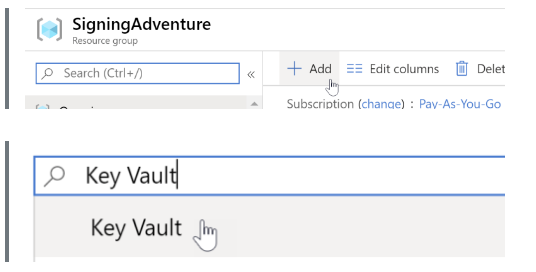
Step 2: In your resource group, add the Azure Key Vault and write down its URL, which will be used later in this process.
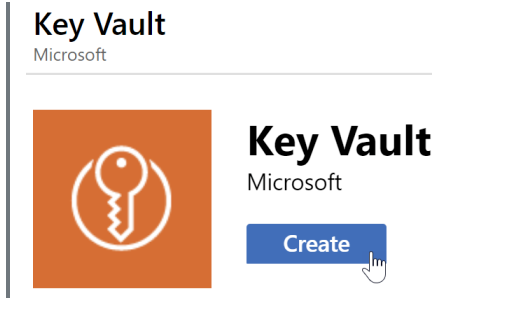
You need to click “+Add,” then search for “Key Vault” and click on “Create.”
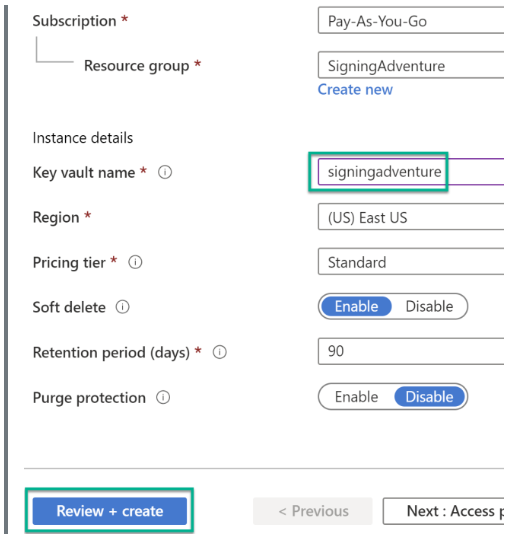
Step 3: Enter the Key Vault details and click on “Review + Create.”
Step 4: Now, note the URL for further processing.

Part 2: Importing the Certificate
The code signing certificate must be available on your machine, as you'll import it to the Azure Key Vault.
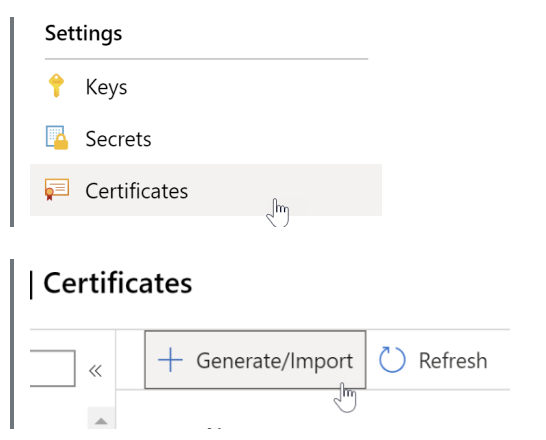
Step 1: Under the settings, choose “Certificates” à “+Generate/Import.”
Step 2: Enter the details of your certificate. As we are importing it to the Azure Key Vault, the method of certificate creation should be “Import.”
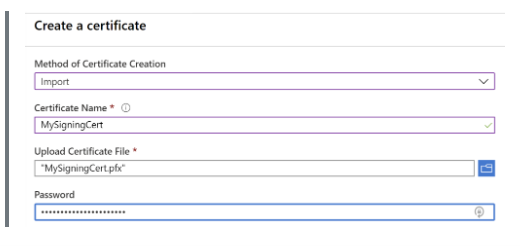
Step 3: After the import, your certificate details will look similar to the following snippet.

Part 3: Application Principle Configuration
The application principle configuration aims to establish a secure way of accessing the certificate. It will help us to eliminate the direct use of hard-coded credentials.
Step 1: From your Azure portal, navigate to Azure Active Directory (AD).
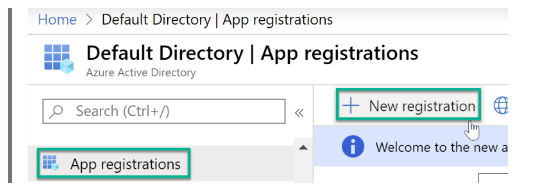
Step 2: Go to “App registration” à “+ New registration.”
Step 3: Register the application by inputting a name and selecting an option from the supported account types section. For this tutorial, the "Account in this organizational directory only" option is selected.
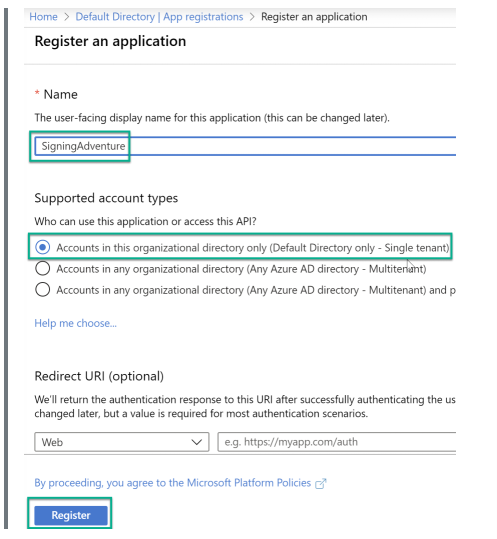
Step 4: Click on "Register," after its creation, note the application ID. This ID will be used as the “Client ID.”
Part 4: Pairing Client ID With a Secret
Step 1: Navigate to the app registration page and choose the "Certificates & Secrets" option in the left panel. Further, click on “+New client secret.”
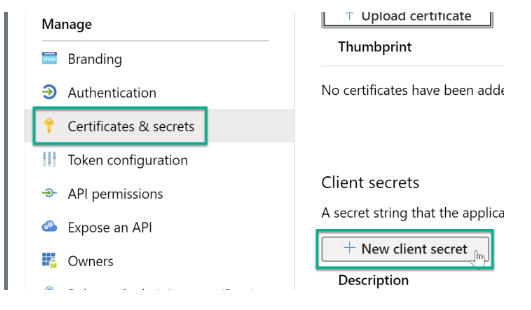
Step 2: Generate your secret and issue it a descriptive name. In addition, copy and note the secret.

Part 5: Configuring Key Vault to Access the Principal
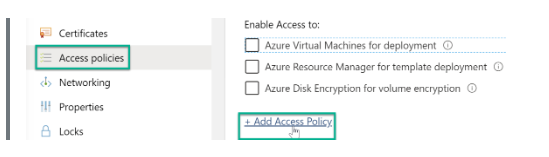
Step 1: Go to the Key Vault settings à “Access Policies” à “Add Access Policy.”
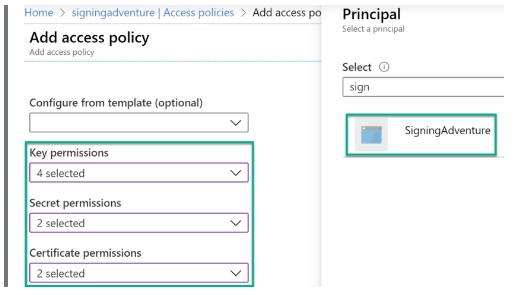
Step 2: Define a new access policy according to the registered application. To define access policy, implement the following permissions.
Parameter |
Permission |
Key |
Verify, Sign, Get, List |
Secret |
Get, List |
Certificate |
Get, List |
Step 3: While configuring the policies, your interface will look similar to the following.
Step 4: Save the access policy settings.
Till now, you have provided the application principal (Client ID + Secret) access to Key Vault.
Part 6: Configuring the Azure DevOps and Signing the Executable
To start signing the executable with AzureSignTool with Azure DevOps, you should download the .NET Core global tool. The AzureSignTool is a part of this .NET Core. To install it, add the following command in your Azure DevOps build.

Now, you'll need the following information to set up the signing process.
- Key Vault URL
- Application ID or the Client ID
- Secret associated with app registration.
- Name of the imported certificate or the certificate available in the Azure Key Vault.
- List of the executable files that you want to sign.
Further, follow the below process for the signing process.
Step 1: Open the Azure DevOps and access the pipeline.
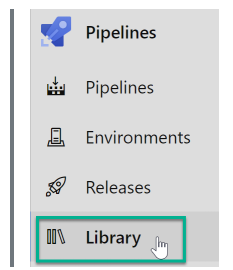
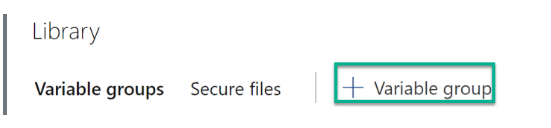
Step 2: Go to “Library Menu”.
Step 3: Click “+ Variable group” and add the variable for client secret, code signing certificate name, client ID, and key vault URL.
Step 4: While hovering over the variable name, you will see a lock icon. Click that lock icon to mark the variable as sensitive.
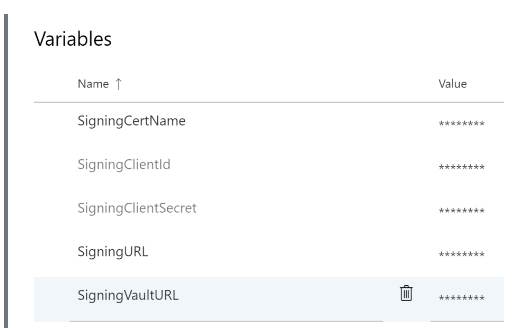
Step 5: Save all the defined variables.
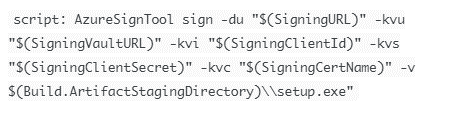
Step 6: Use the following script, using the variable name instead of the original names of the certificate, client ID, secret, and other parameters.
In addition, using variables will provide you with an added security advantage. The logs containing signing data will only disclose the variable names instead of the original client ID, secret, and cert name. Thus, integrity and confidentiality will be retained.
As a result, whenever your build runs, it will run the script, access the certificate and key, and utilize the AzureSignTool with Azure DevOps to sign executables.
Conclusion
To sign the executable files with AzureSignTool while using Azure DevOps, you will need a code signing certificate that is compatible with the platform. Primarily, an EV code signing certificate is recommended. In addition, a Key Vault, platform subscription, and active directory configuration are also needed. Once you fulfill all the requirements, you can proceed with signing the script configuration.
The process begins by setting up the Azure Key Vault and then importing the code signing certificate to it. Following it, an application is registered, and an associated secret is generated. Additionally, the application and key vault are securely connected. Lastly, the variables are defined for every component, and the script to sign the executables is added to the Azure DevOps pipeline.
Opinions expressed by DZone contributors are their own.
Comments