I Built My First Go Application and Deployed It to Heroku
In this tutorial, we'll learn to build and deploy a Go web service to Heroku, showcasing the ease of use, speed, and power of Golang for modern web services.
Join the DZone community and get the full member experience.
Join For FreeGo (aka Golang) came to life at Google in 2009. It was designed by a few big names:
- Robert Griesemer, who had a large hand in the development of the Java Virtual Machine.
- Rob Pike, who holds the U.S. patent for windowing UI systems as well as helped build the Plan 9 operating system at Bell Labs. (In fact, the mascots for Plan 9 and for Golang are remarkably similar because Pike’s wife, Renée French, is a renowned illustrator.)
- Ken Thompson, who designed and implemented a little thing called Unix.
In this article, we’ll demonstrate how simple it is to build a RESTful web service in Go. Then, we’ll demonstrate how to deploy this application with Heroku. But before we embark on this journey, let’s talk briefly about why you might want to use Go.
Why Go?
To build a web service in 2024, why would you choose Go over another language, like Python or TypeScript? Go’s biggest advantage over those two languages is speed. Go is a compiled-to-machine-code language. It’s not interpreted like Python, Ruby, or JavaScript. It’s not even compiled to bytecode and run in a virtual machine like Java. Lots of benchmarks show Go to be 40x or 50x faster than applications written in interpreted languages. When it comes to speed, Go applications perform similarly to those written in Rust or C++.
Go has a simple syntax, often with only one particular way of doing something. This is appealing to many developers, especially any who have ever been in a development team setting, where squabbles over various ways of doing things eat up precious time. This simplicity drives conformity in a codebase and offers less perplexity when reading the code. (Believe it or not, most developers spend more of their time reading code rather than writing it.)
Go is a young language, so it comes packed with modern features out of the nursery. You get automatic garbage collection like in Java or Python. You get built-in linters, formatters, and unit testing. You get a rich network stack in the standard library. And perhaps most beneficial to network programmers: You get an easy-to-use multi-threading toolkit called Goroutines.
Yes, there are some reasons why not everyone is hot on Go. One common complaint revolves around error handling in Go. Functions in Go can return multiple values, one of which is an error code. This hearkens back to the days of C—before exceptions—and feels admittedly archaic. It is easy to forget to check error codes for every function. It’s also tedious to percolate errors from down in the depths—when you awaken a balrog deep inside your application—up to somewhere manageable. You know you’ve done that.
Alright, the Go cheerleading is done. Let’s get to building.
Building a Simple RESTful Web Service in Go
We’ll build a small API service that provides some text operations that applications commonly need, such as:
- Encode a given string using a basic Caesar Cipher
- Determine if a string is a palindrome
- (Perhaps most importantly) SpongeBob-encode a zinging retort.
If you’d rather skip ahead to the finished code for this application, you can find it in this GitHub repo. We’re not going to go through main.go line by line, but we’ll talk about the important bits.

Let’s start with the main function, the bootstrapping code of the service:
func main() {
	http.HandleFunc("/is-palindrome", palindromeHandler)
	http.HandleFunc("/rot13", rot13Handler)
	http.HandleFunc("/spongebob", spongebobHandler)
	http.HandleFunc("/health", healthHandler)

	appPort := ":" + os.Getenv("PORT")
	if appPort == ":" {
		appPort = ":8080"
	}
	err := http.ListenAndServe(appPort, nil)
	if err != nil {
		return
	}
}
As we mentioned, one of Go’s powerful features is the expressive net/http standard library. You don’t need any third-party dependencies to quickly get a basic RESTful service up and running. With http.HandleFunc, you can easily define your routes and assign handlers to the requests that are routed to those URIs.
The http.ListenAndServe method kicks off the server, binding it to the port you specify. When we deploy to Heroku, Heroku will handle setting the PORT var in the environment. For our local deployment, we default to 8080.
Let’s look at a handler:
func spongebobHandler(w http.ResponseWriter, r *http.Request) {
	decoder := json.NewDecoder(r.Body)
	var t requestPayload
	err := decoder.Decode(&t)
	if err != nil {
		panic(err)
	}

	result := map[string]string{
		"original":  *t.Input,
		"spongebob": spongebob(*t.Input),
	}

	w.Header().Set("Content-Type", "application/json")
	err = json.NewEncoder(w).Encode(result)
	if err != nil {
		return
	}
}
Our handler needs to do the work of taking the JSON body of the request and parsing it into a Go struct defined outside of this snippet. Then, it needs to build the result from other functions that transform the input string into a SpongeBob utterance. Again, none of the libraries here are third-party dependencies; they all come standard with Go. You can see the prevalence of error handling here via error codes, as working with err takes up a large part of the code real estate.
To run this service locally, we simply do this:
$ go run main.goThen, we send a GET request to /health:
$ curl -s http://localhost:8080/healthWe receive a JSON response indicating the service is up and healthy. That’s it—one file, with roughly 100 lines of actual code, and you have a working Go RESTful microservice!
Deploying Your Go Service to Heroku
Running the service on your laptop is OK, I guess. But you know what would be really cool? Running it on the web, that’s what.
These days, we have lots of options for how to host a service like this. You could build out your own infrastructure using AWS or Azure, but that gets complicated and expensive quickly. Lately, I’ve been turning more and more to Heroku. As a platform-as-a-service (PaaS), it’s a low-hassle, low-cost option that allows me to deploy applications to the cloud quickly.
When I’m doing testing and development, I use their Eco Dyno plan to get 1000 dyno hours per month for $5. To deploy basic apps to production, I use their Basic Dyno Plan, which costs a max of $7 per month.
For frameworks that Heroku supports, the process of deploying right from your local machine to the web is quick and painless. After setting up a Heroku account, I install the Heroku CLI and log in from the command line.
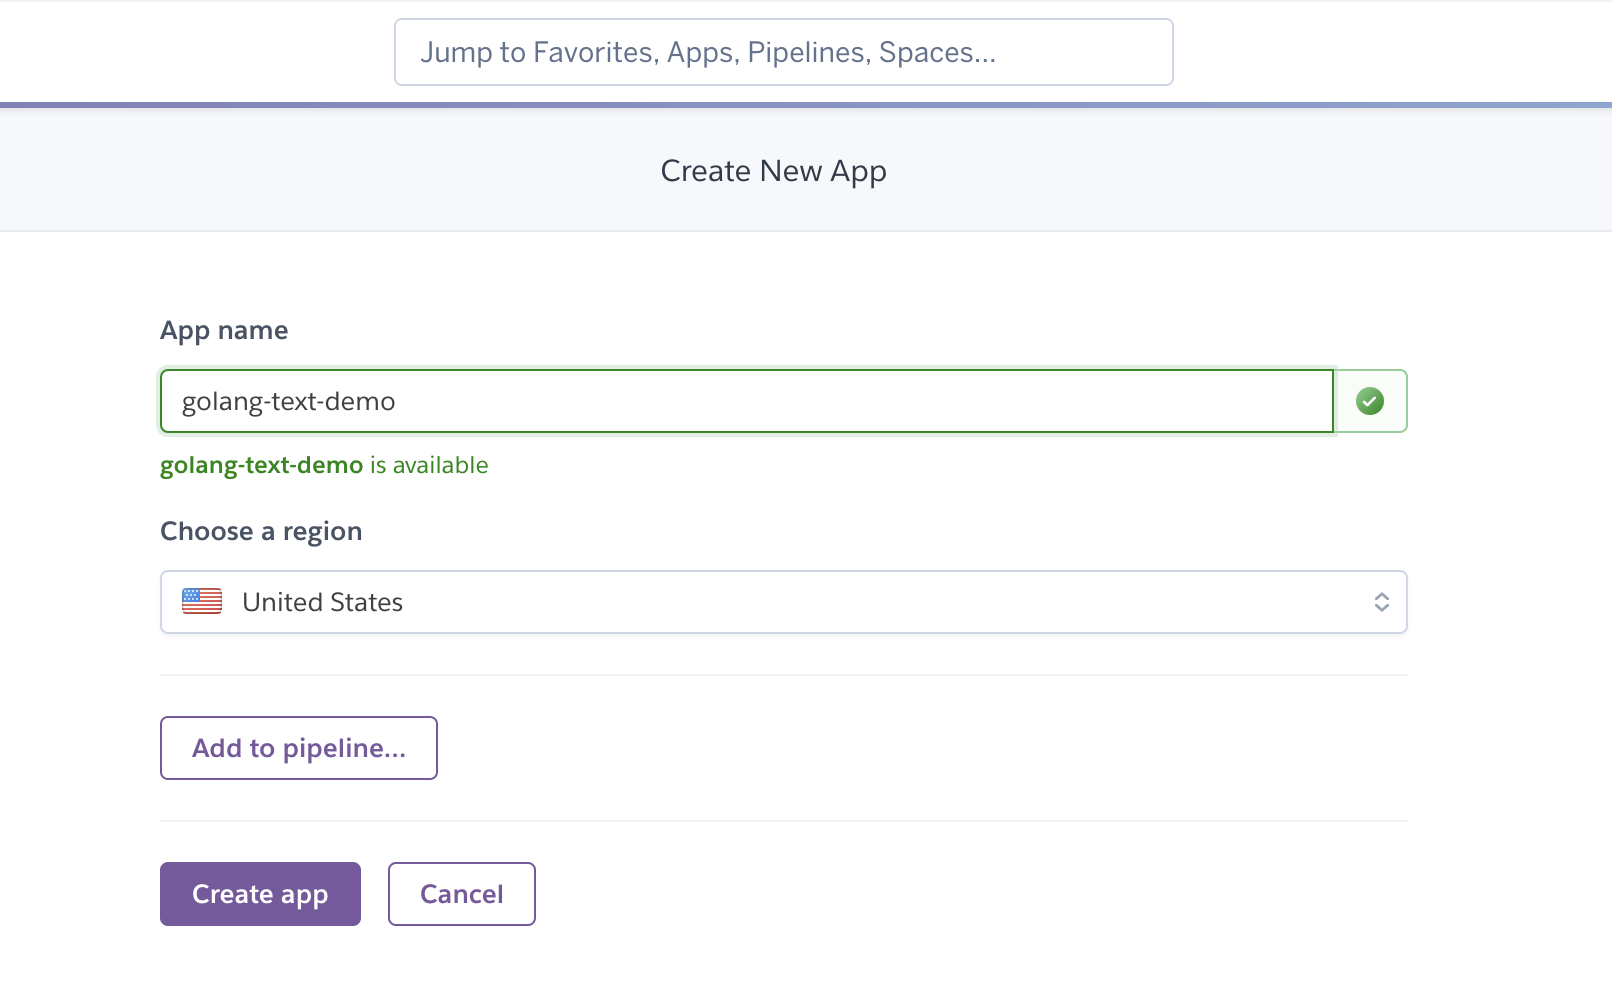
You can create a new app directly through the CLI, or you can use the web UI. I named my application the same as my GitHub repo: golang-text-demo. We’ll think of something snazzier before our IPO; but for now, this will do.
To deploy our GitHub repo to Heroku, we first need to add a remote repository.
$ heroku git:remote -a golang-text-demoThis creates a new remote location in our GitHub repo, pointing it to the Heroku application we just created. Now, whenever we push our branch to that remote (git push heroku main), it will kick off a flurry of activity as Heroku gets to work.
Lastly, we add one file called go.mod, which specifies our app’s build dependencies (we don’t have any) and build configurations for Heroku. Our file is short and sweet, simply setting the Go version we want Heroku to use:
module golang-text-demo

go 1.22
When we push to our Heroku remote, Heroku initializes all the required resources in the cloud. This may take a minute or two the first time you deploy your app, but the results appear to be cached, reducing the time in subsequent deploys.
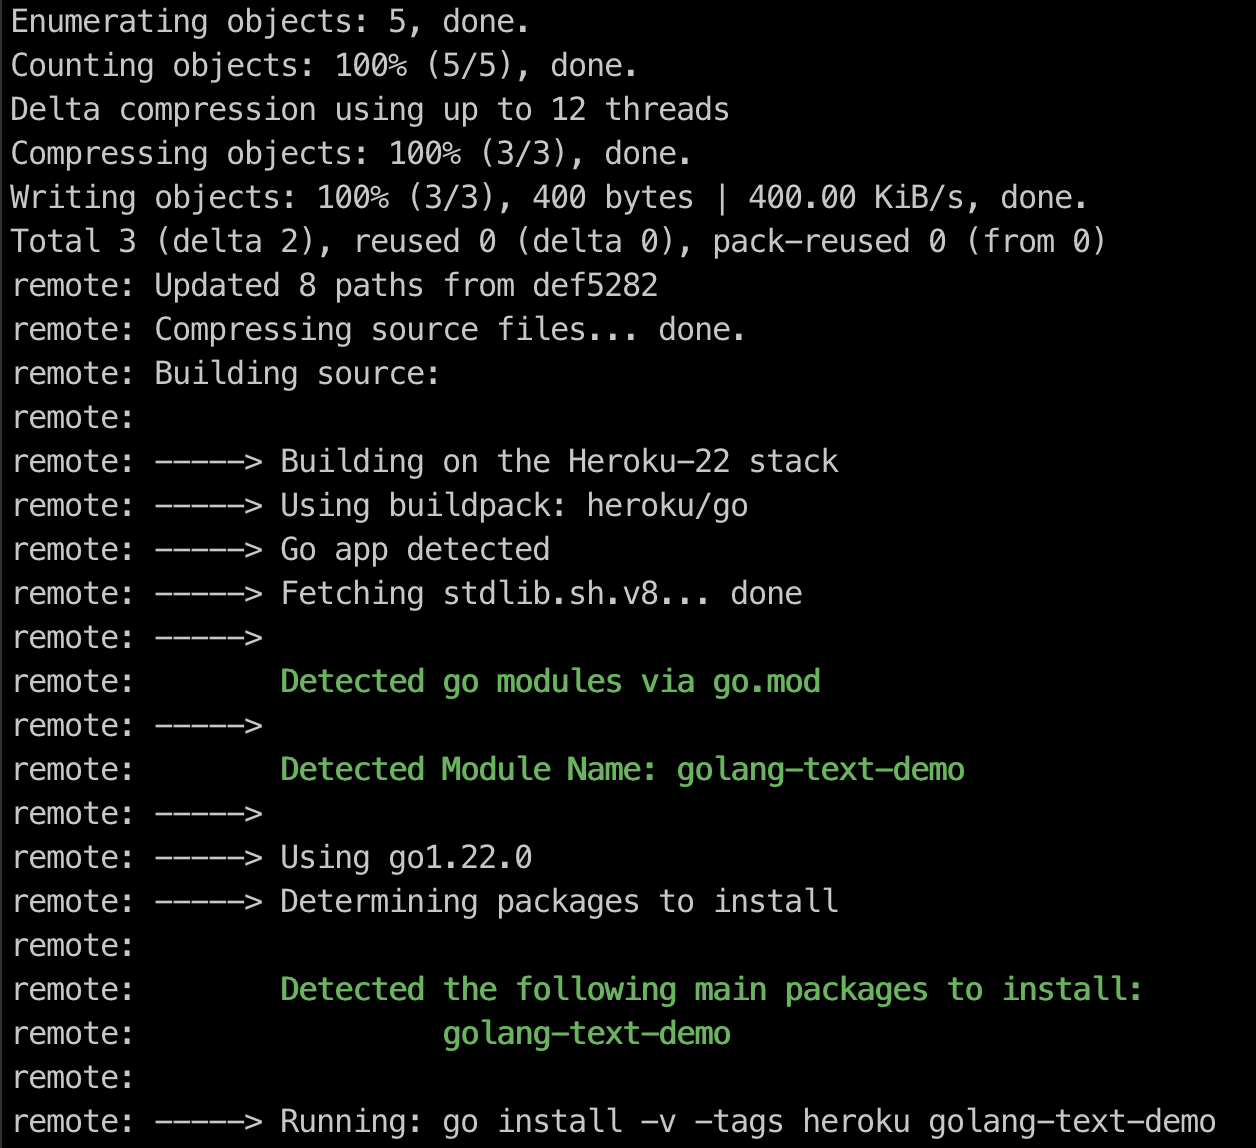
When your app has successfully deployed, you’ll see output that looks similar to this:

This gives us the URL for our deployed Heroku app. Sweet! With a single git push command, we’ve deployed a Go microservice to the cloud, and it is now accessible anywhere in the world. To interact with it, we simply issue the same curl command we did before, but we use the Heroku app URL instead of localhost.
The Heroku CLI also gives us access to our application’s logs. It’s almost exactly like working with the tools directly on your local machine. We just run heroku logs -tail, and we see the latest log lines from Heroku and our application right there in our terminal window.
Before we finish, let’s briefly highlight the impressive insights that can be gained about your application from the Heroku app dashboard. Sure, there’s the obvious stuff you care about—like how much your resources are costing or whether or not they are functioning. But the metrics section gives you impressive detail about the performance of your application in near real-time.
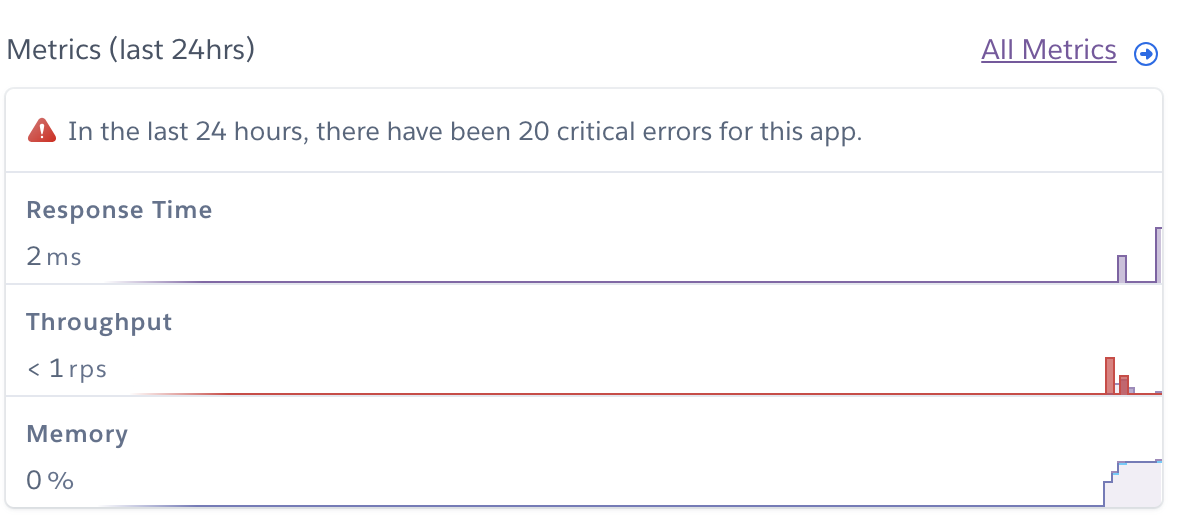
Somebody better do something about those critical errors…
Conclusion
In this walkthrough, we’ve explored why Go is a great choice for building a modern, low-dependency, and efficient web service. We built a simple API service in Go and demonstrated how to deploy our service using Heroku. As a PaaS, Heroku supports running a wide variety of services, not just Go.
With that, you now have the tools needed to get started on your own Go services journey. Don’t wait, get Go-ing!
Published at DZone with permission of Alvin Lee. See the original article here.
Opinions expressed by DZone contributors are their own.
Comments